This is a French dessert but I’ve found it in a lot of patisseries in Italy and also on the menu in many Italian restaurants. As I mentioned in the video, pastry cream is a super versatile recipe to master as it can be piped into profiteroles or croissants, made into a filling for a fruit tart or even just served between two layers of pan di spagna. Give yourself a full afternoon to make this or, better yet, make the cream the day before and bake the pastry shapes just before your dinner party.
INGREDIENTS:
- 1 or 2 rolls of puff pastry (depending on how many layers you’d like to do)
- 5 egg yolks (you may use only 4 if preferred)
- 150 grams of castor sugar (2/3 cups or 5.3 ounces)
- 500 ml of milk (2 cups)
- zest of 1 lemon, finely chopped
- 1 tablespoon of vanilla essence/ extract/paste or 1/2 a vanilla bean stick
- 40 grams of corn starch (16 teaspoons)
- 15 grams cold butter (1 tablespoon)
- 125ml whipped cream (this is optional if you would like to extend your crema pasticcera as I did in the video. I would add a little cream at a time and see how you like the consistency or volume gradually. You can’t really go wrong but adding more cream will make the finished result less dense.
- 1/2 cup of brown sugar to caramelise the tops of the pastry shapes.
- 1 punnet of strawberries (or mulberries or whatever fruit you like so long as it isn’t too juicy)
- 1/2 cup of powdered sugar (to sweeten the strawberries and to sift on top at the end so this is optional)

METHOD:
- Take your pastry out of the freezer to unthaw and preheat your oven to 180-200 degrees C or 350-400 degrees F.
- In a medium sized pot, warm the milk, lemon zest and vanilla until just simmering with little bubbles but not boiling. We just want to infuse the milk with these lovely flavours. If you’re using a vanilla bean stick, be sure to scrape out the seeds before adding both the seeds and stick to the pot.
- In a mixing bowl, whisk five egg yolks into your castor sugar until frothy and amalgamated.
- Sift in the corn starch to your egg/sugar mixture, stirring vigorously to make sure there are no lumps.
- Take your infused milk, first making sure it is just warm and not boiling hot, and gradually incorporate it into the egg/sugar mixture, only a little at a time.
- Pour the whole mixture back into the pot and cook on a medium flame, stirring constantly with a whisk until it becomes thick like in the video.
- Meanwhile, give your mixing bowl a little rinse and put it into the freezer so it will cool down the crema when it’s done. (I do this because I don’t want to put it straight into the fridge when it’s still hot so this expedites things a little.)
- When your crema reaches the rich consistency, turn off the flame and stir in the cold butter, which should make it lovely and glossy. Don’t worry if it doesn’t look velvety smooth straight away – keep whisking intensely and it will become smoother.
- Pour into your chilled mixing bowl and when it is room temperature, cover with cling film and let it rest in the fridge for at least an hour but up to 24 hours for maximum flavour.
- Cut your puff pastry into shapes and lay on a large tray with baking paper. Sprinkle brown sugar on each shape and prick with a fork.
- Now, listen carefully, this part needs your attention. Puff pastry demands a hot oven so don’t skip the preheating part. I like to let the pastry shapes bake for a few minutes to get a little puff into them but then you will need to place a tray on top of them to stop them from rising too much and to ensure they all rise to more or less the same height. After about 6 minutes, I turn them, sprinkling a little extra brown sugar on the other side to caramelise it. At this point, see how they’re going to decide whether they need the tray on top to hold them down or whether you can bake the second side without them puffing up too much. Unless you have a giant oven, you will probably need to bake them in batch anyway, so you can experiment a little. A little note if you’re preparing batch 2 while the first batch bakes, don’t sprinkle the sugar onto the shapes until just before they go into the oven and if you can, leave the next waiting batch in the fridge so the pastry doesn’t get too soft.
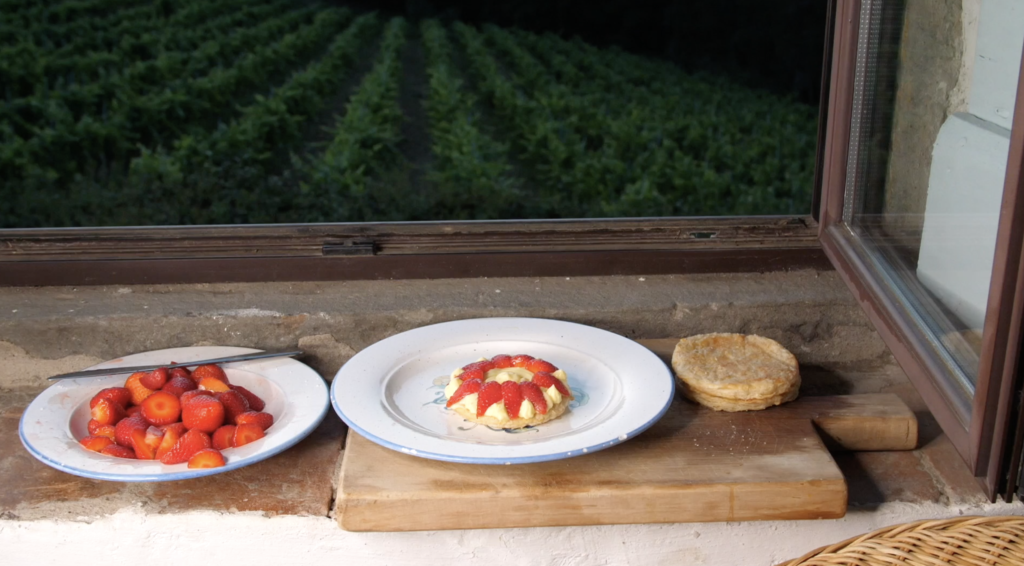
- Almost done! While we’re waiting for our pastry shapes to cool and our crema in the fridge to become even more intense in flavour, we can slice our strawberries into quarters or halves or slices and let them rest in a little powdered sugar.
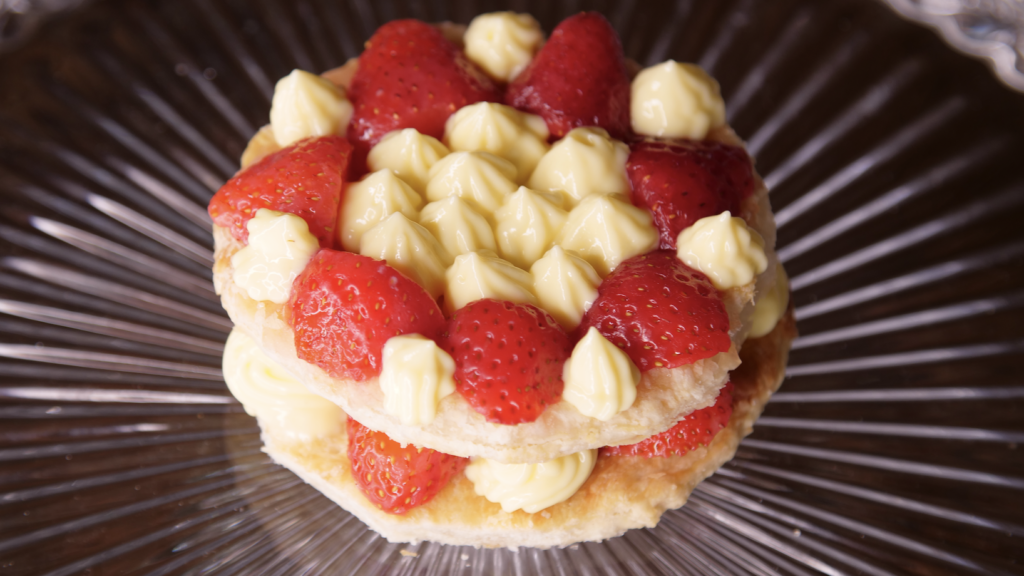
- Now that you see how many pastry shapes you have, you can decide if you want to extend your crema by folding in some whipped cream. It makes the ‘pastry cream’ into what is called ‘diplomat cream’ and I do like to add this part because it also makes the texture a little lighter.
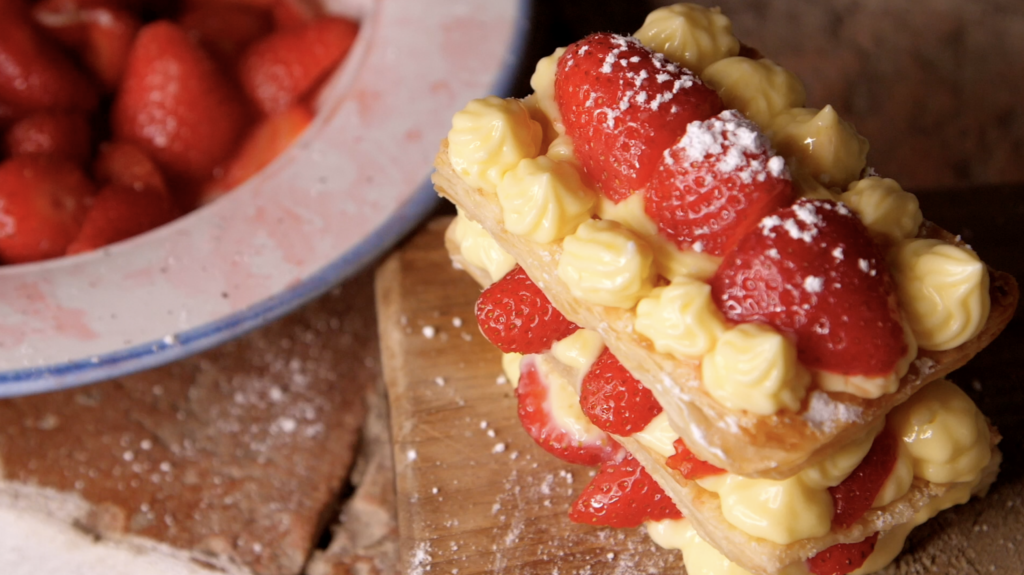
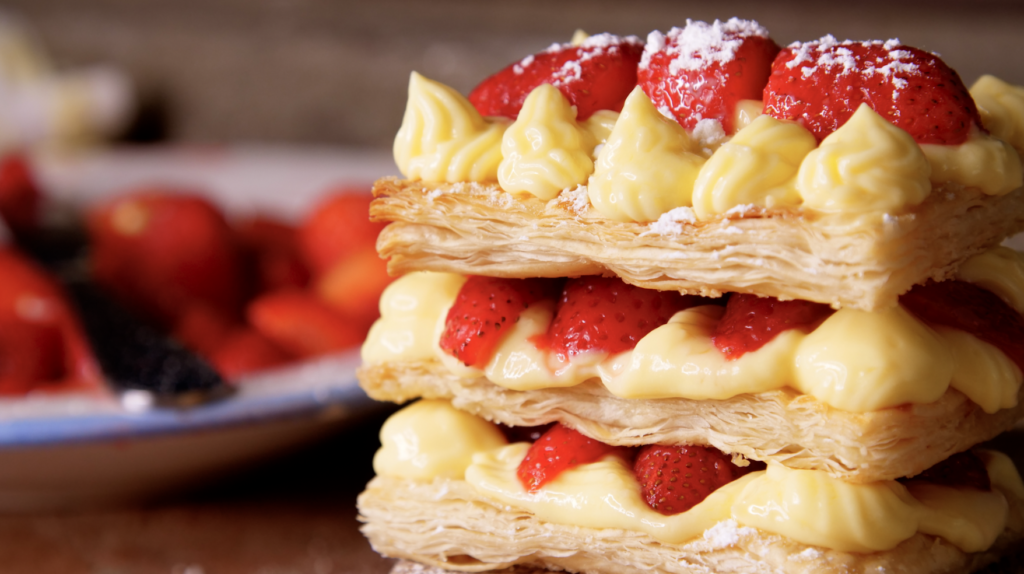
- Now you’re ready to assemble! Don’t rush and do this when the pastry shapes are still hot from the oven or you will have a melting mess. I made these recently on a very hot afternoon for a dinner party and I worried that the strawberries and crema might soak through and make the pastry soggy by the time dessert was served BUT they were perfect even three or four hours later, just waiting patiently for me at room temperature. Sift a little powdered sugar on top to make them look pretty, if you like. ENJOY!
3 Comments